SendPulse integration guide
by Kundan | Mar 19, 2024 |

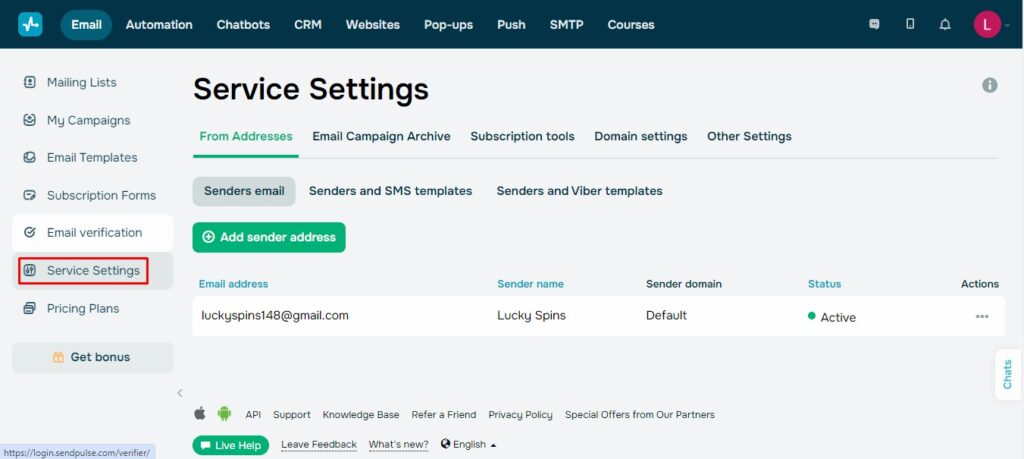
- In SendPulse dashboard click on Service Settings from left menu.
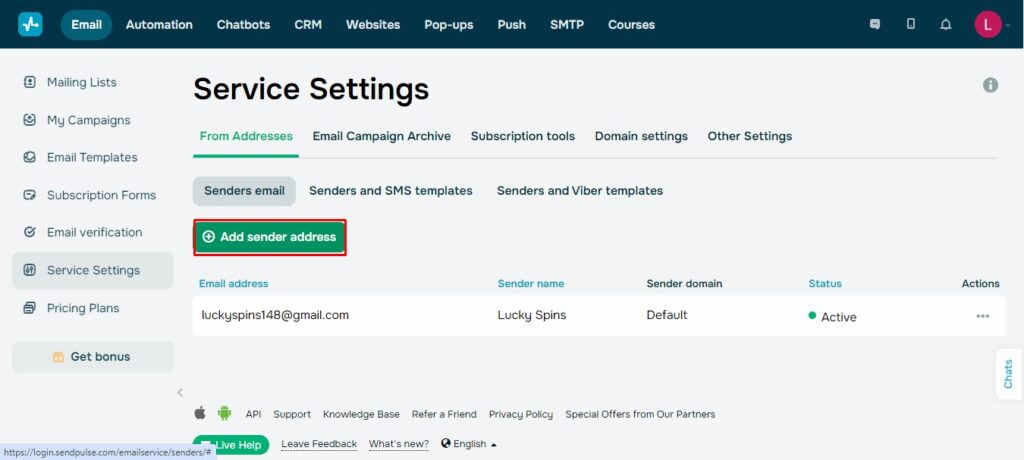
- Click on Add sender address.
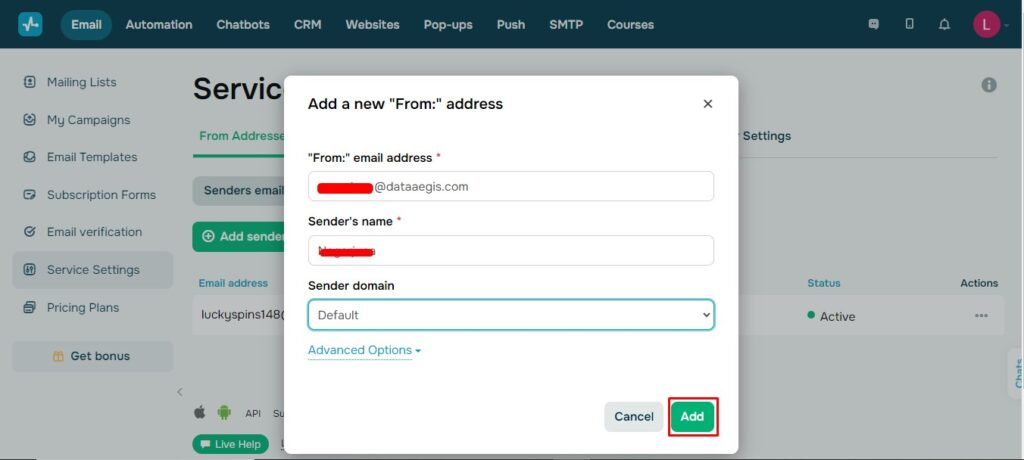
- Add your From email address and Sender name and click on Add.
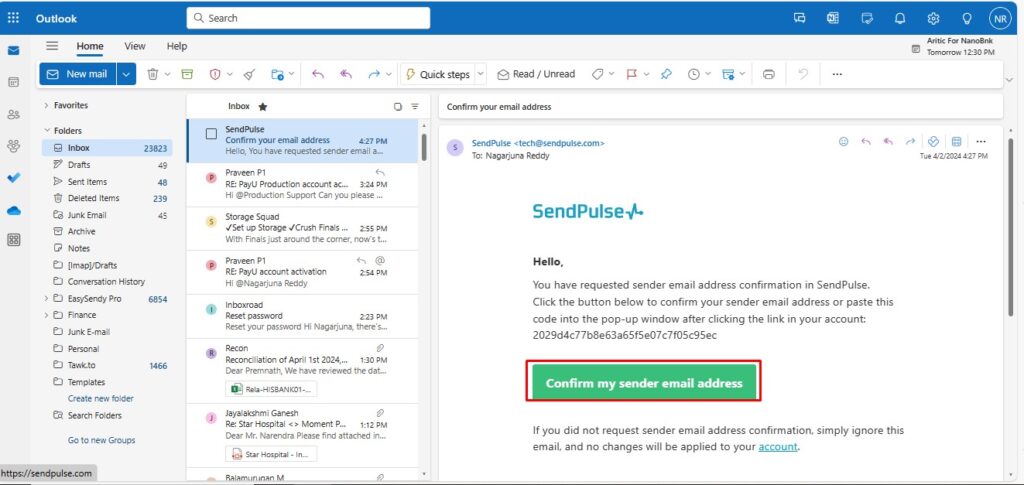
- Now open your email box and click on Activate my email from SendPulse.
- Now you can able to see your From email address verified and status as “Active” inside Sendpulse.

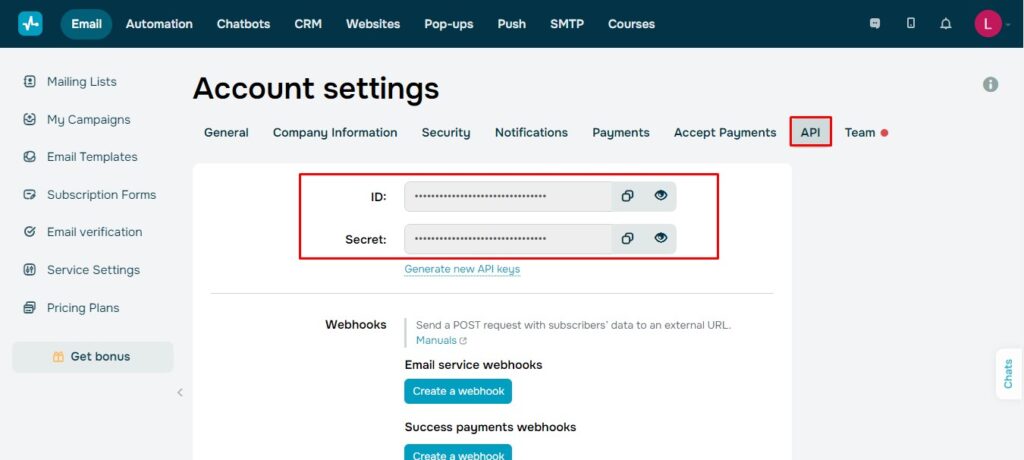
- Now go to Account settings on top right corner.
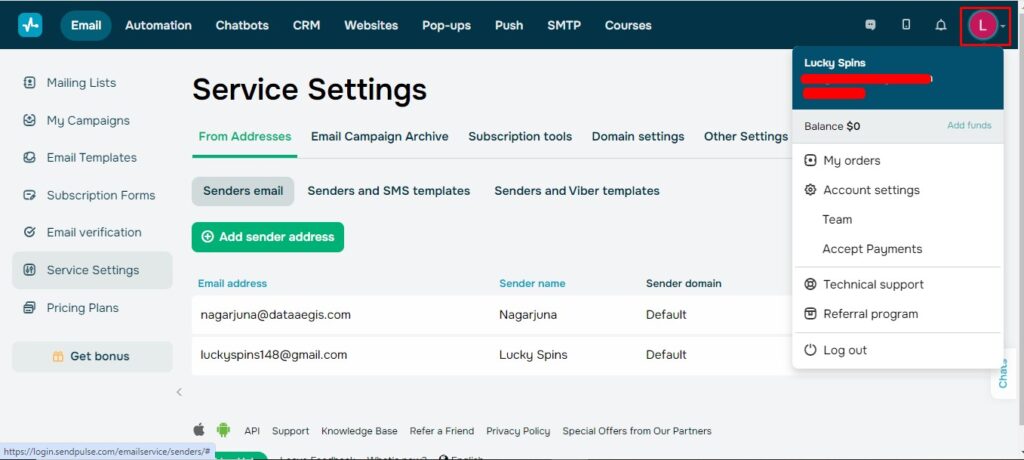
- Select “Account settings” and then “team,” then click “API,” copying the corresponding secret and ID keys.
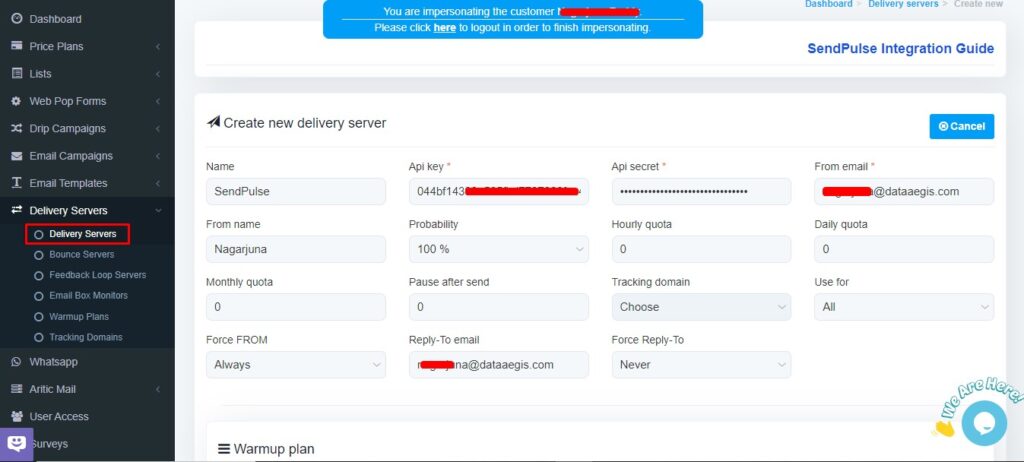
- Go to Easysendy dashboard select servers and click on Delivery server and create new server.
- Add Sendpulse web api in EasySendy Pro Delivery Server.

- Paste the copied Api key and Api Secret which you copied from SendPulse and add the From email and choose Save changes.
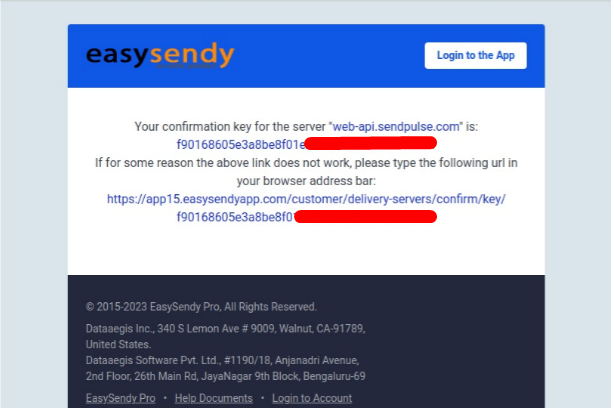
- Add your From email to Validate Delivery Server.
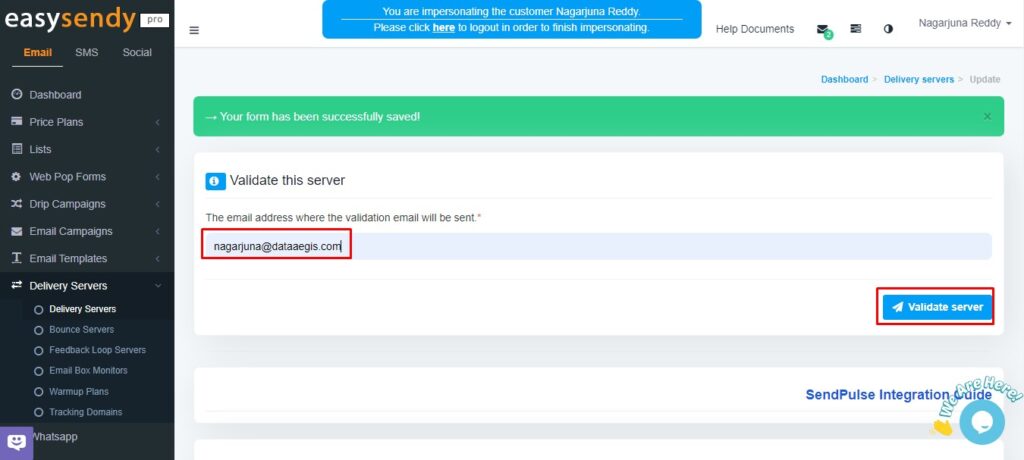
- Open your mail box and click on the verification link.
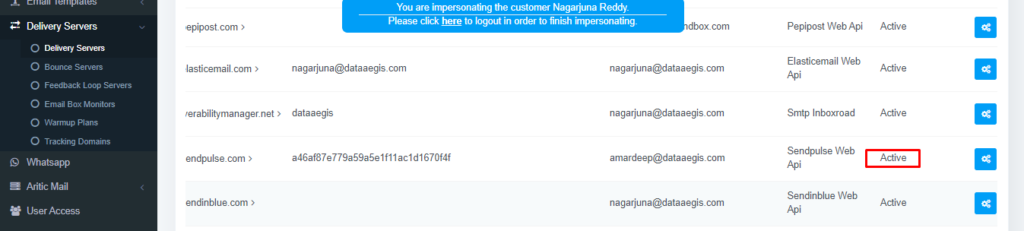
- Now you can able to see your Sendpulse delivery server as “Active”.
Recent Comments