In this article, you’ll learn how to Activate Million Verifier integration with EasySendy Pro.
1. Go to the login page of Million Verifier.
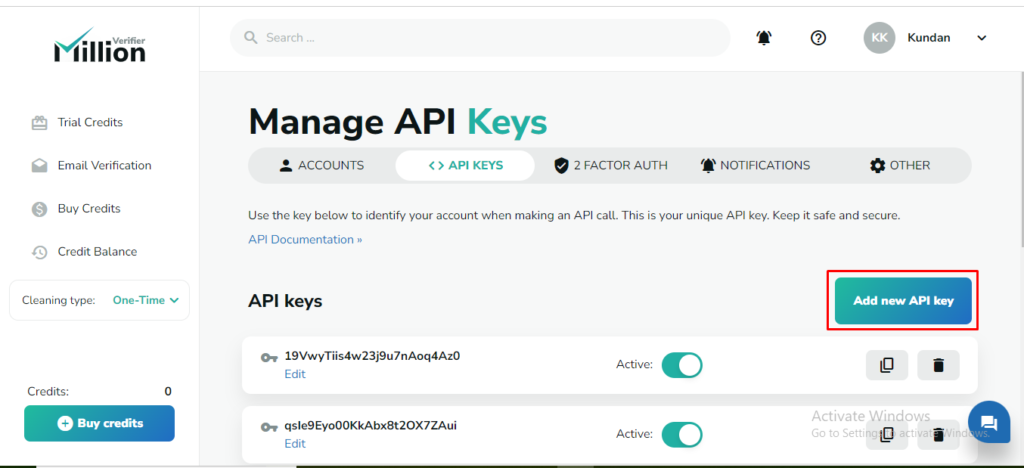
2. Go to Account settings on top right corner and choose API KEYS option and click on Add new API key.
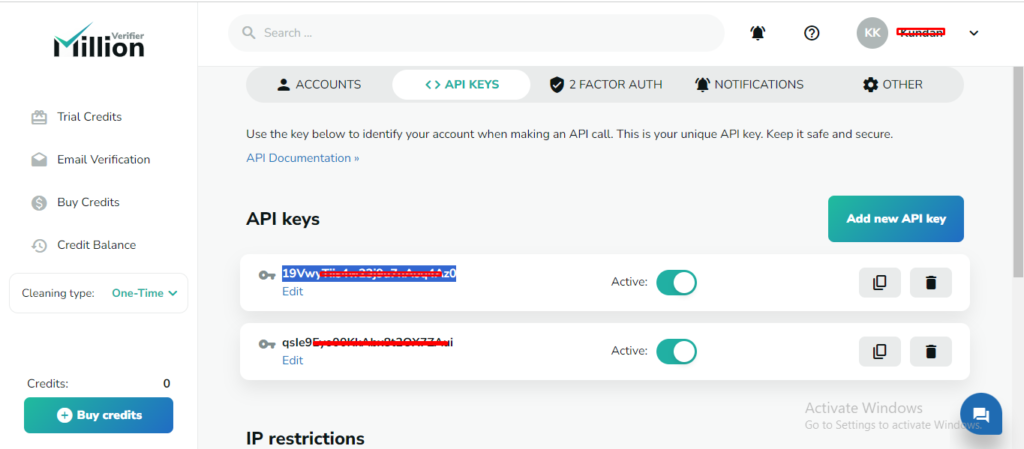
3. Copy the API key once it created.
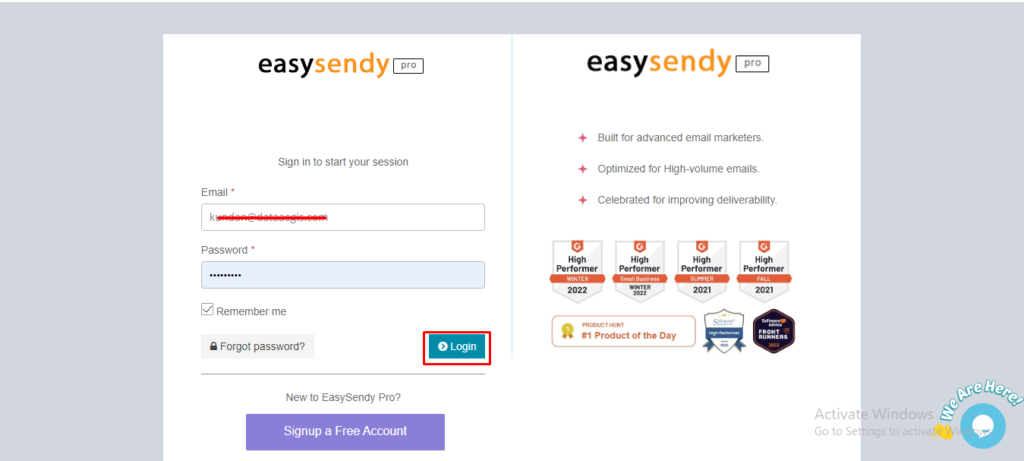
4. Now go to the EasySendy account and log in.
5. Go to the “Email verification” option in the left menu and choose the “Providers” option.
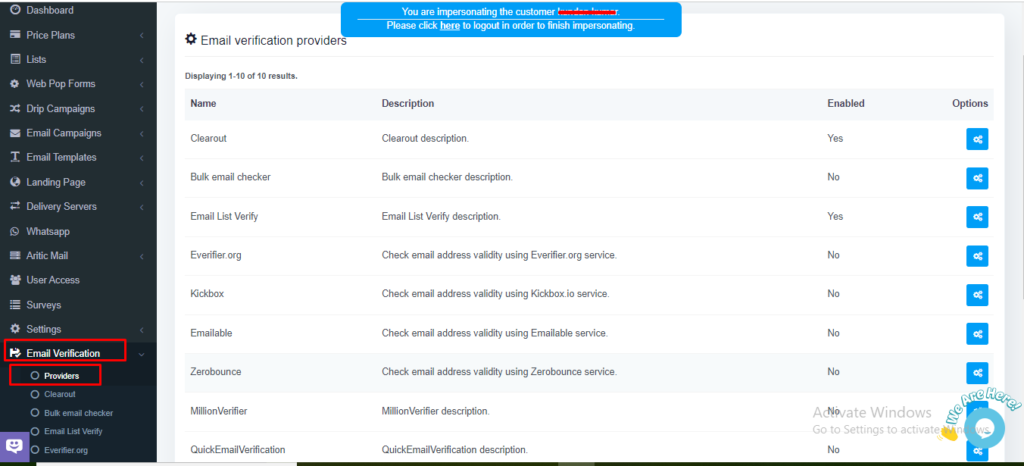
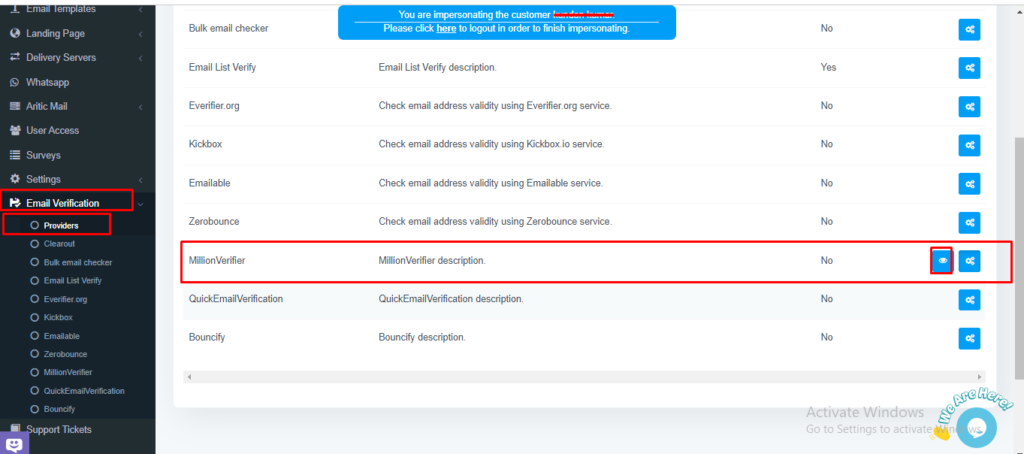
6. Choose the email verification provider as “Million Verifier” and choose view settings.
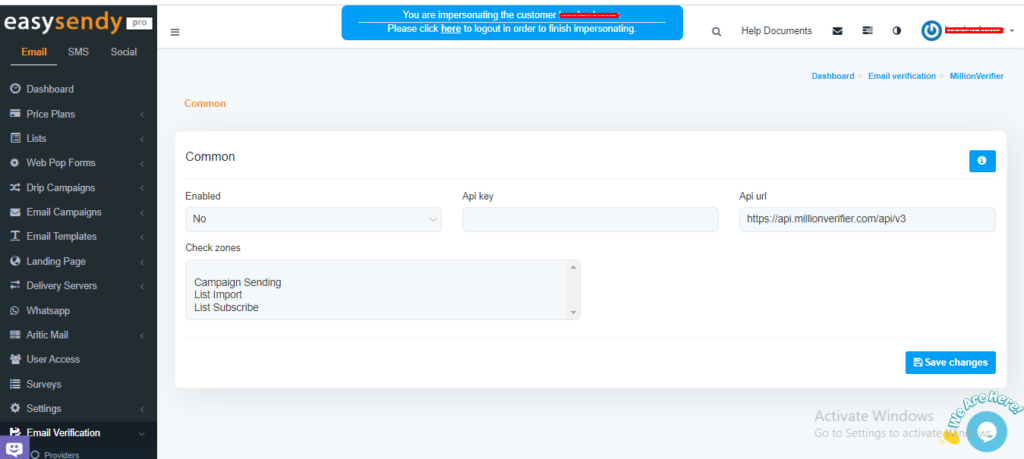
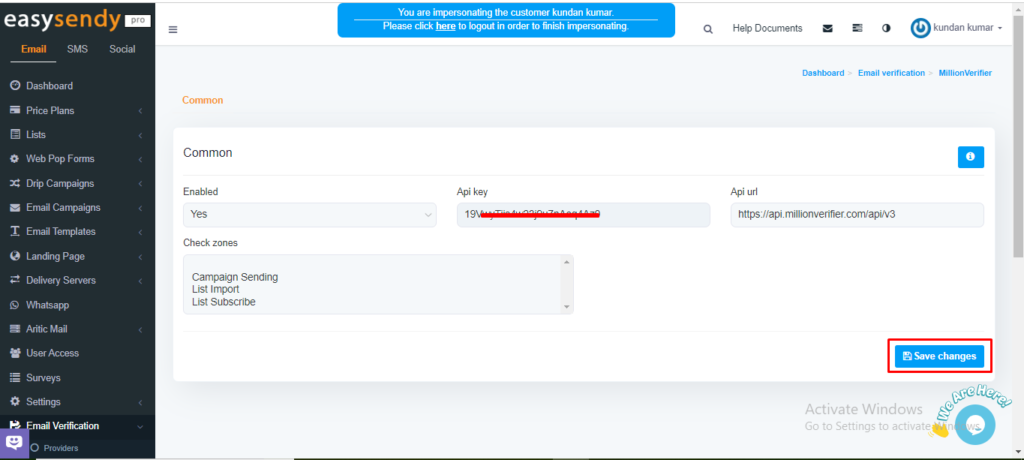
7. Now you can able to see the settings for Million verifier providers.
8. Enable the Million Verifier provider as YES, as shown in the screenshot.
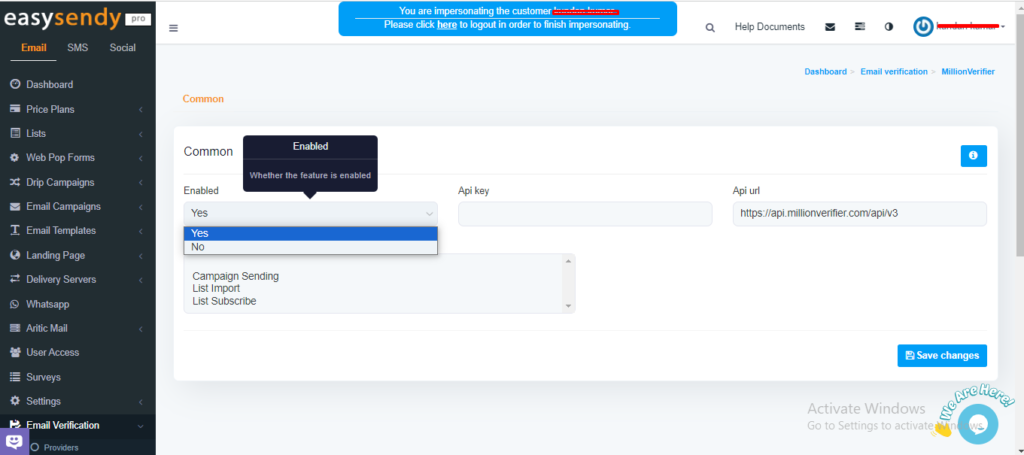
9. Then add the copied API key and choose the “check zones” when exactly you want to run the email validation and click on “Save changes“.
Recent Comments