In this article, you’ll learn Email list verify integration with EasySendy Pro.
1. Login with Email list verify.
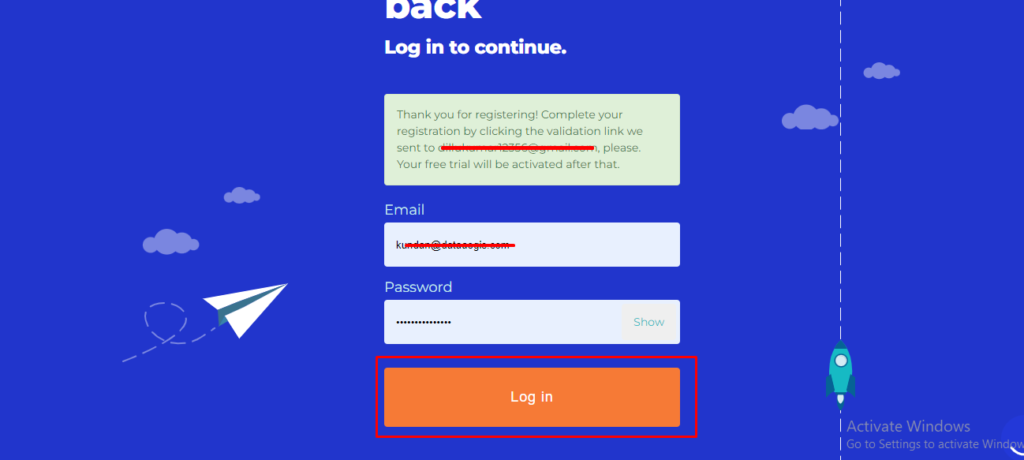
2. Verify with your email.
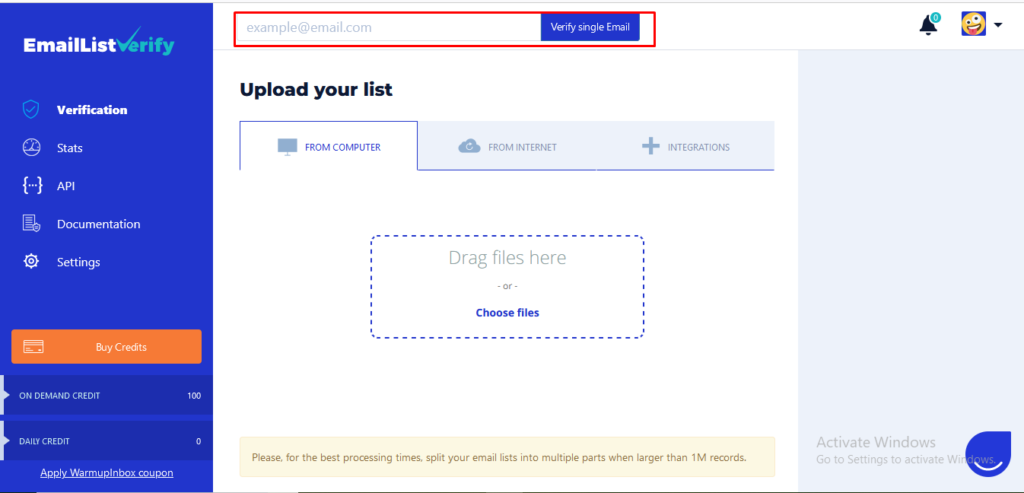
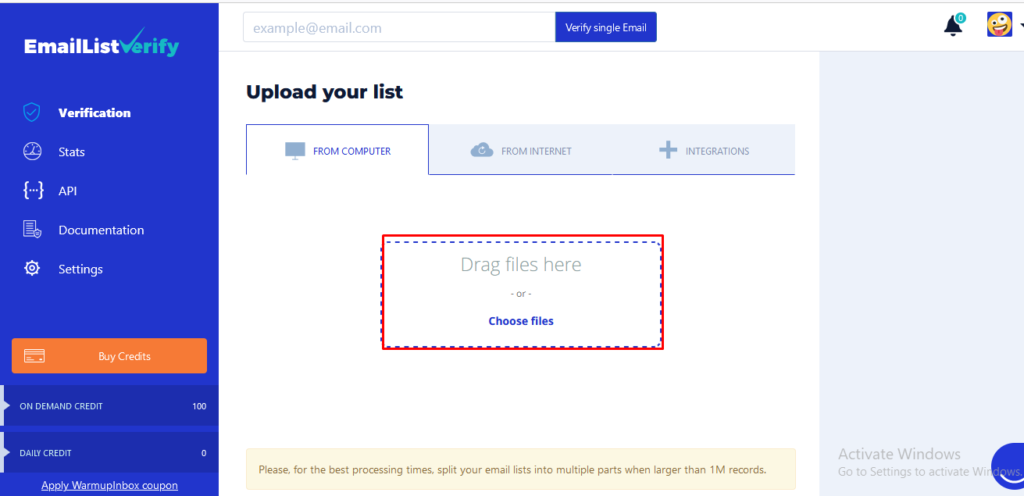
3. Upload your list to verify by choosing Choose files.
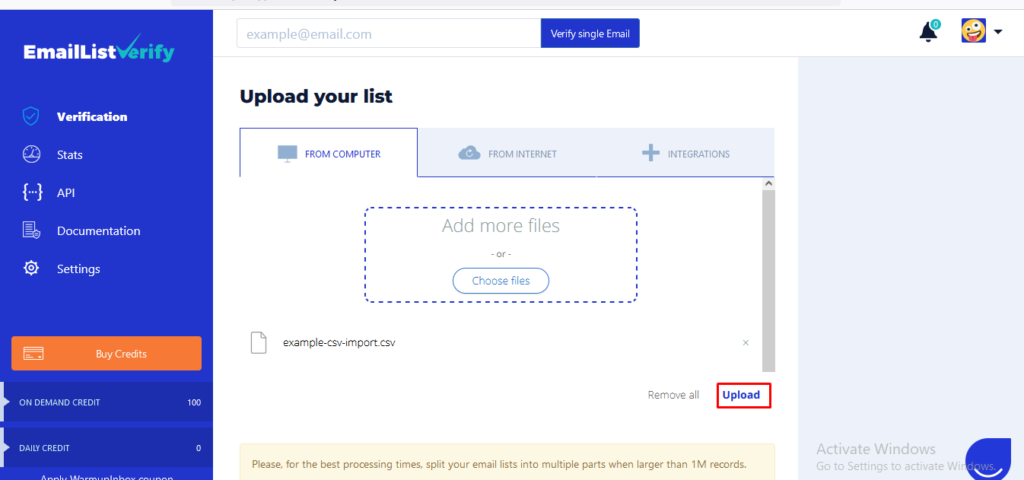
4. Click Start processing.
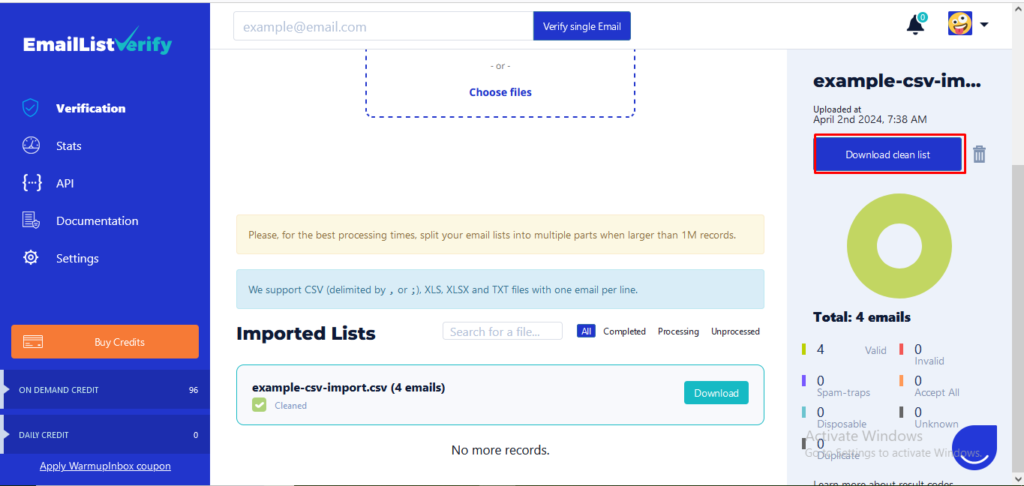
5. After processing completed you can able to see the cleaned list report. And you can also download the cleaned list by choosing Download clean list.
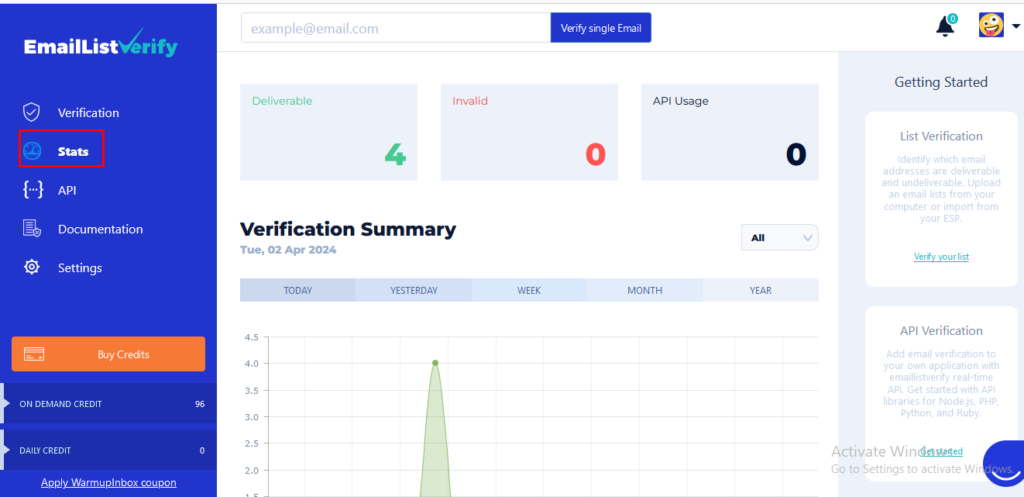
6. Choose stats in left menu to get your cleaned list reports.
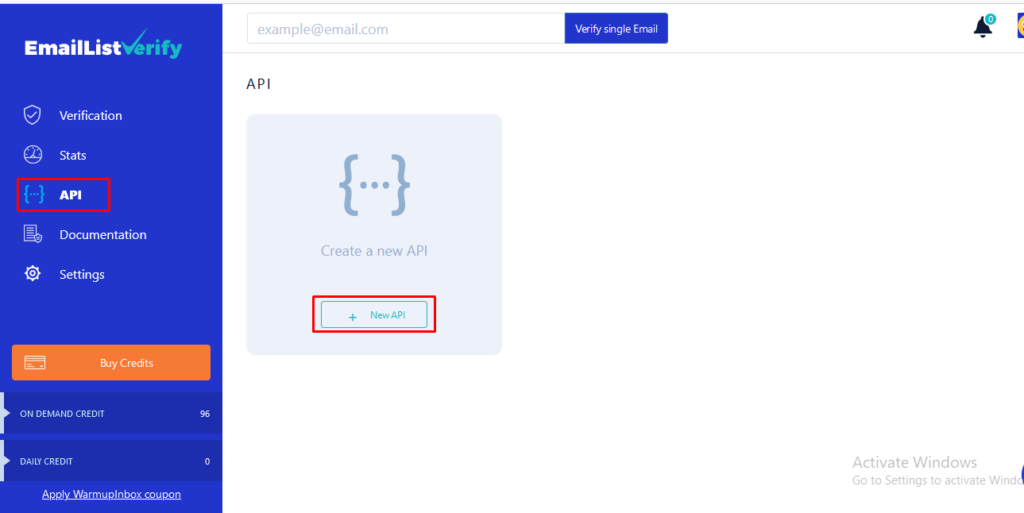
7. Choose API in left menu and click New API to create your own API key.
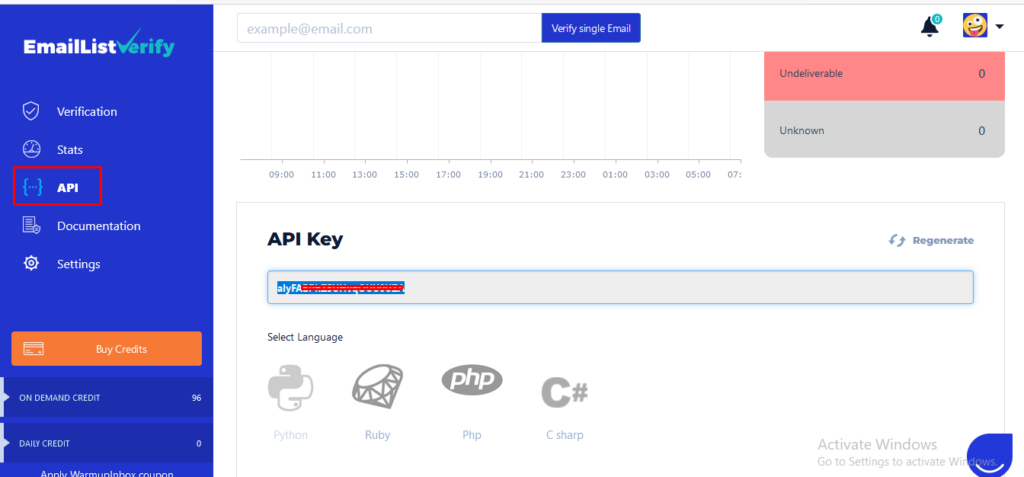
8. Copy the generated API key.
9. Now go to EasySendy account and click log in.

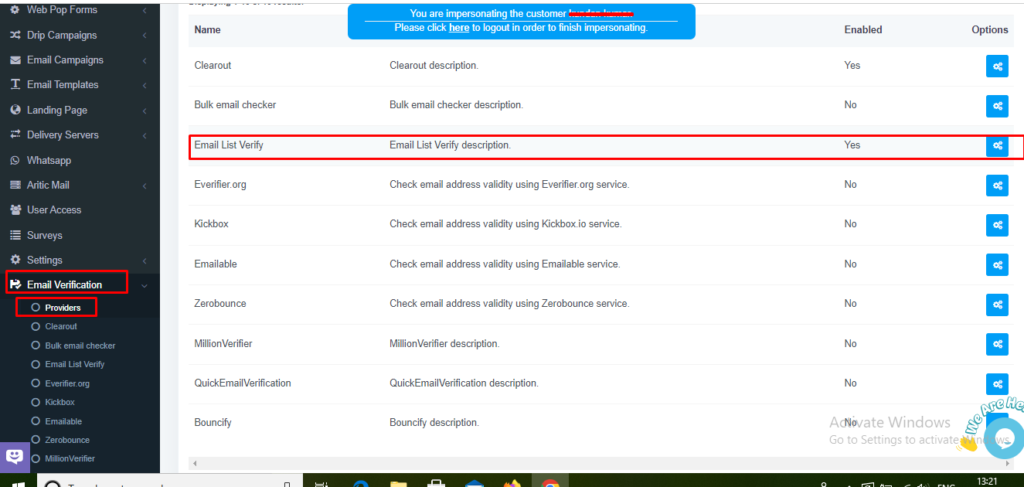
10. Go to the “Email verification” option in the left menu and choose the “Providers” option.
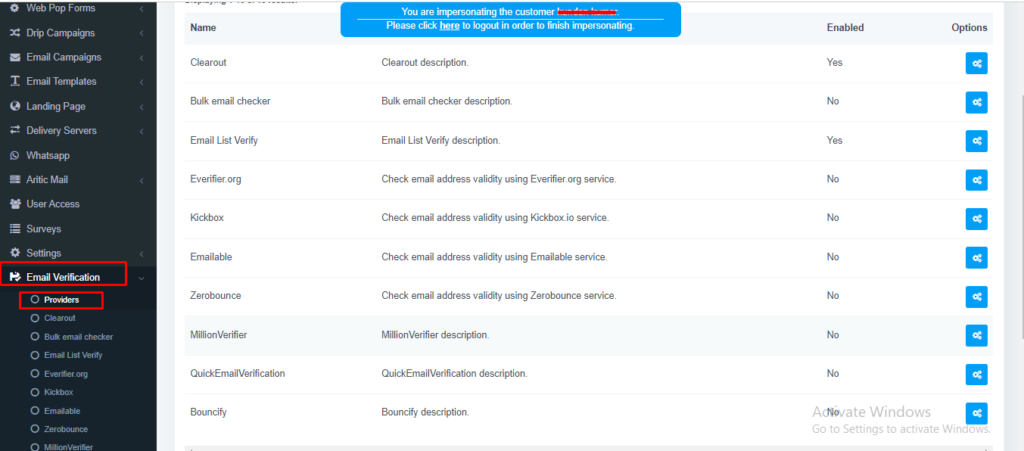
11. Choose the email verification provider as Email list verify.
12. Go to the “view settings” option.
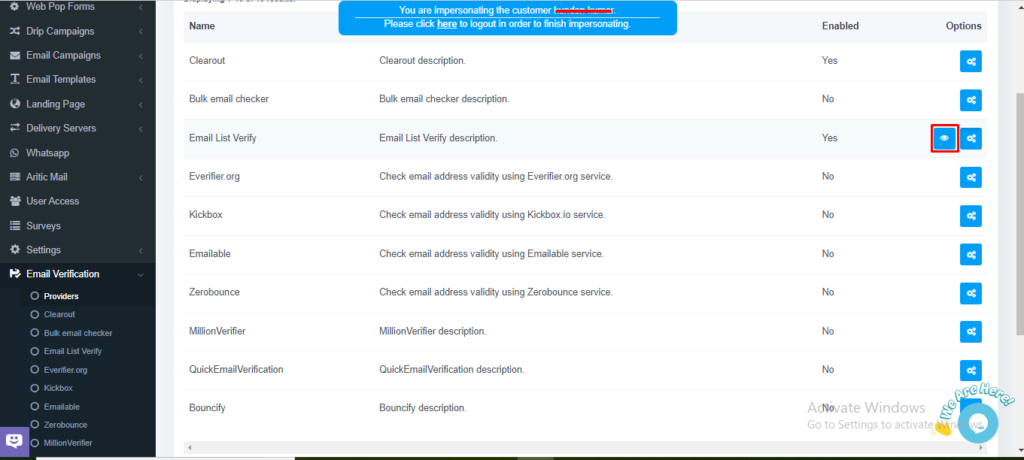
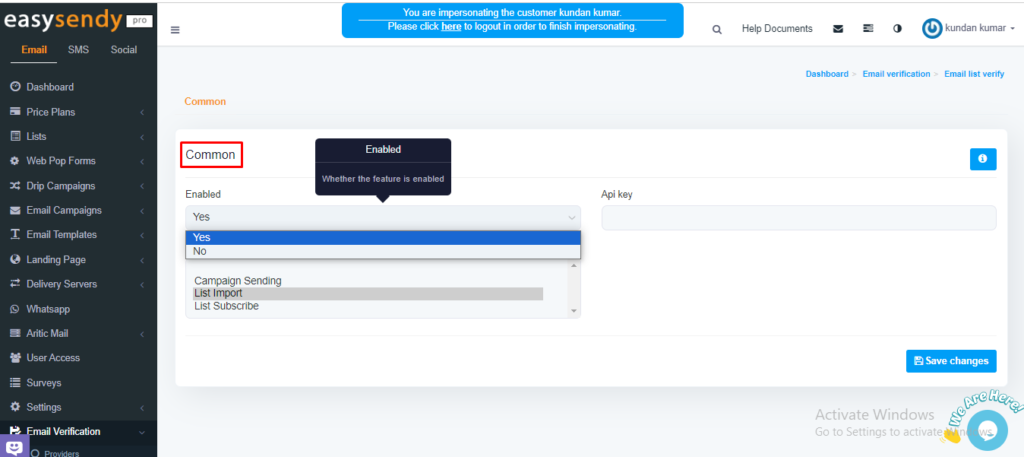
13. Now you can able to see the settings for your “Email list verify” providers.
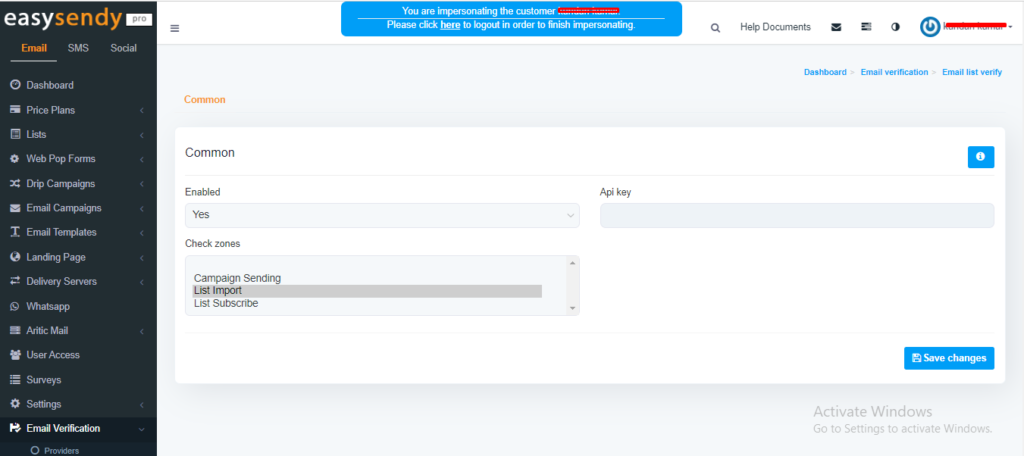
14. Enable the Email verify list provider as YES, as shown in the screenshot.
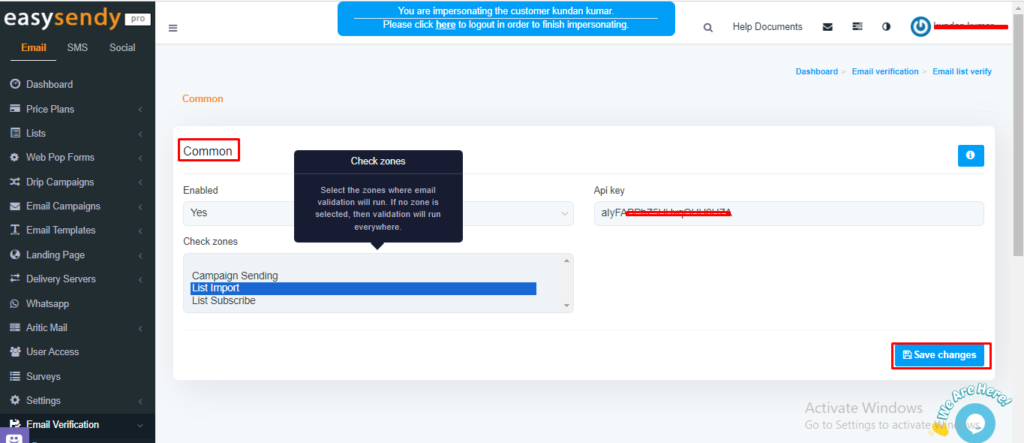
15. Then add the copied API key and choose the “check zones” when exactly you want to run the email list verify and click on “Save changes“.
Recent Comments