In this article, you’ll learn how to Activate Postmark web API integration with Easysendy Pro.
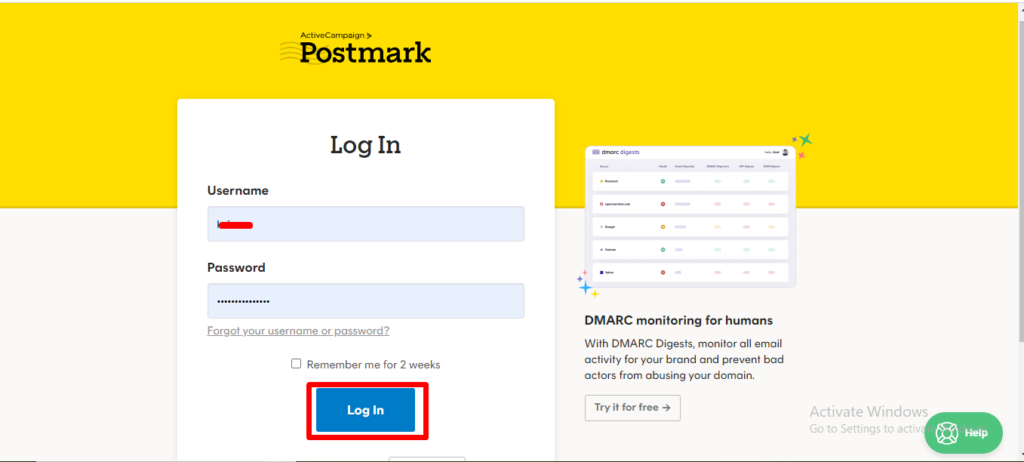
1. Login to Postmark: https://account.postmarkapp.com/login
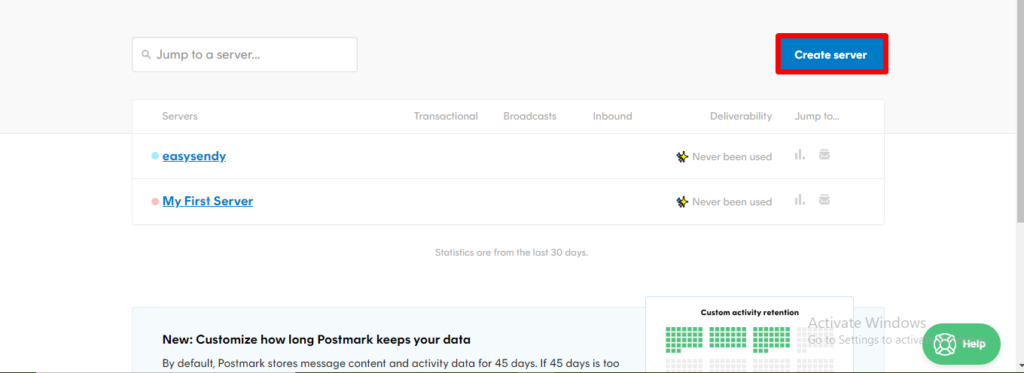
2. In Dashboard choose Create Server.
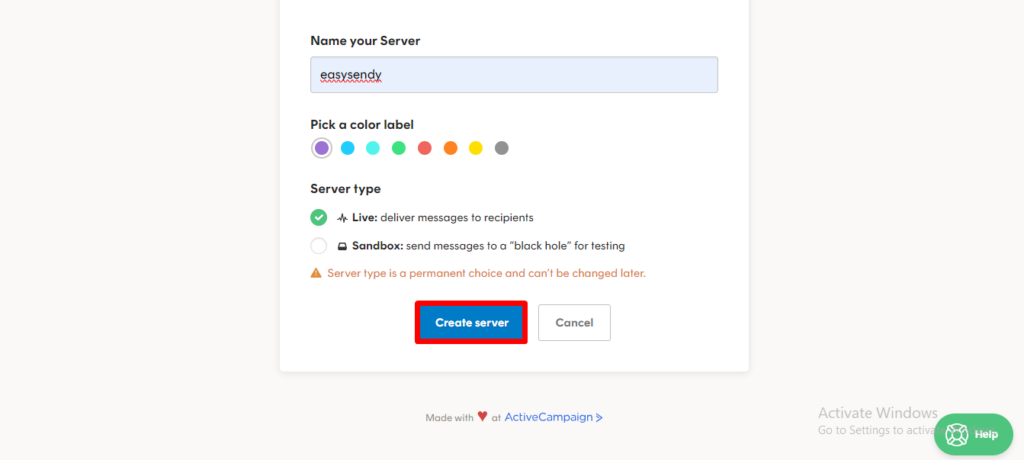
3. Fill all the required fields and choose Create server.
4. Once you created your server, Go to Sender Signatures option.
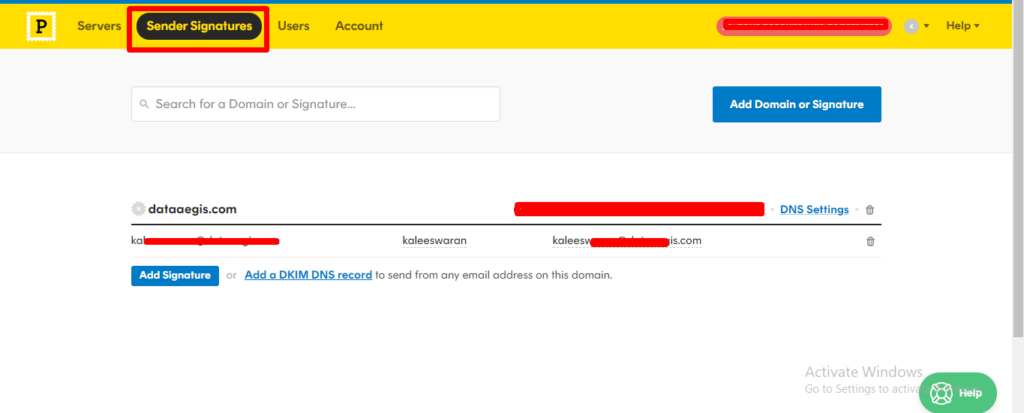
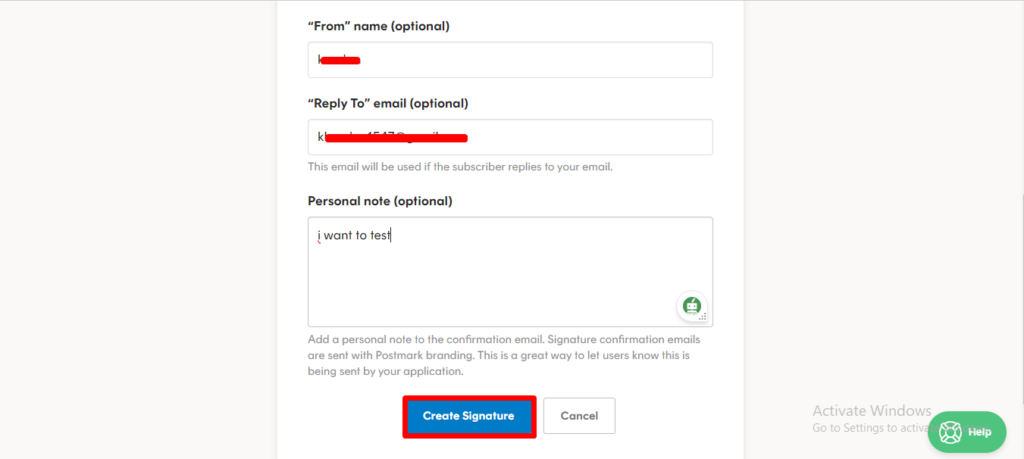
5. Add your From email, From name and reply to email then choose Create signature.
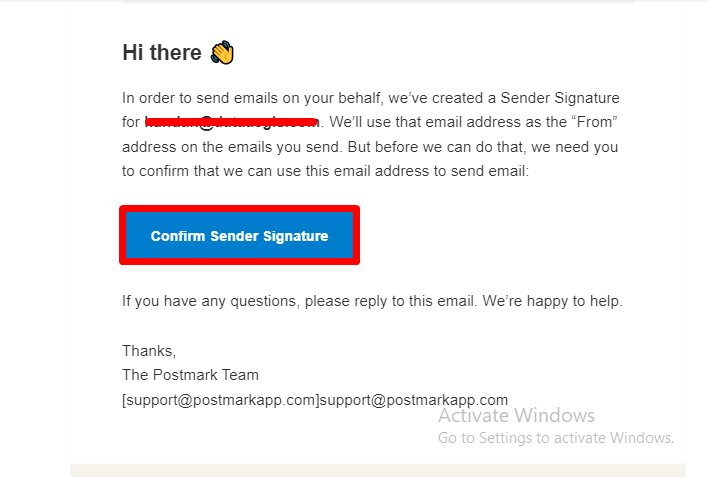
6. Login your mail and click on the Confirm sender signature.
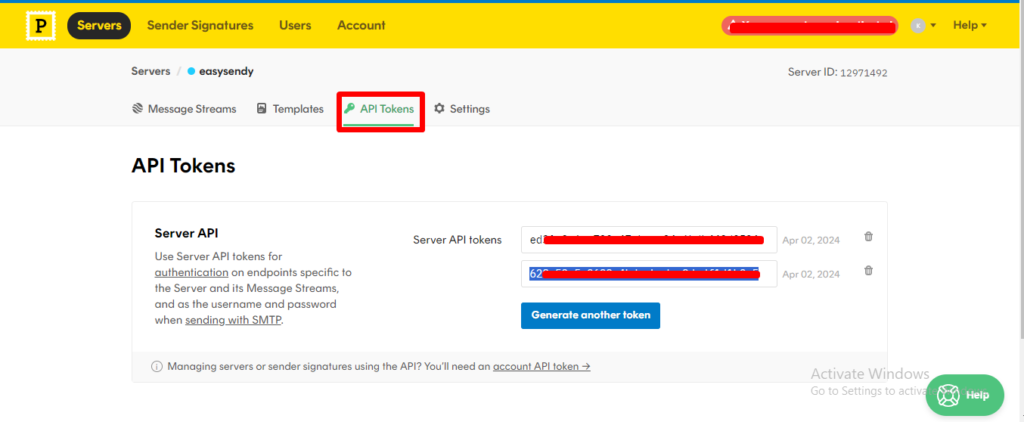
7. Click on your server and go to API tokens option and copy the generated server API token.
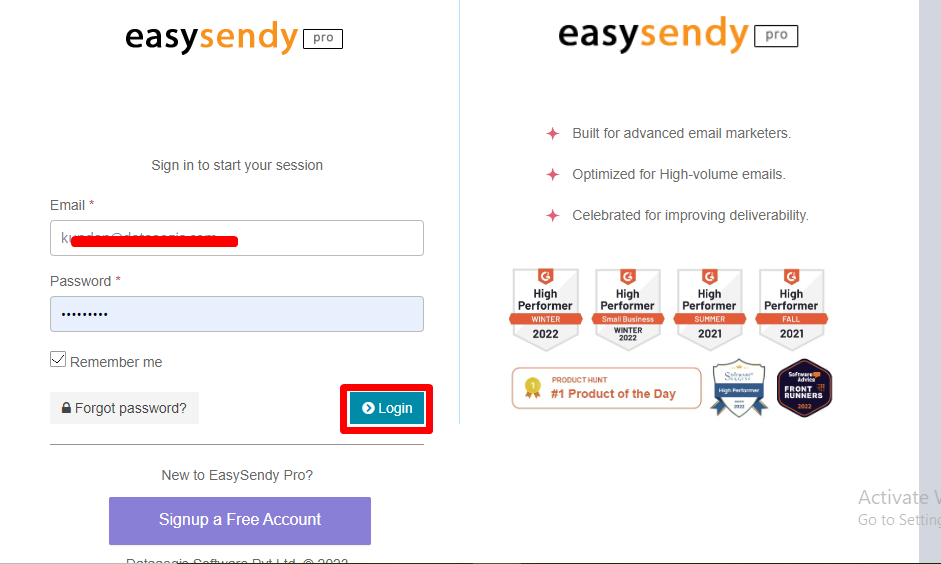
8. Go to EasySendy account and click log in.
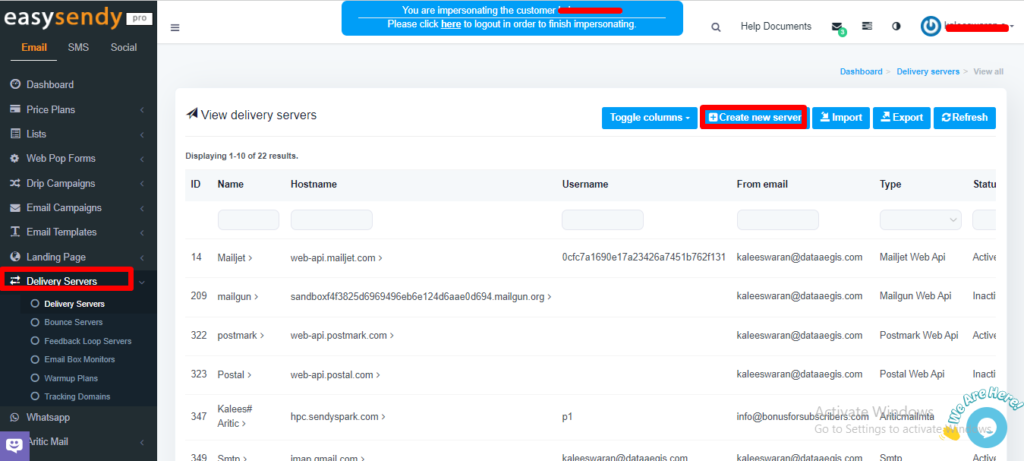
9. Go to Easysendy dashboard select servers and click on Delivery server and Create new server.
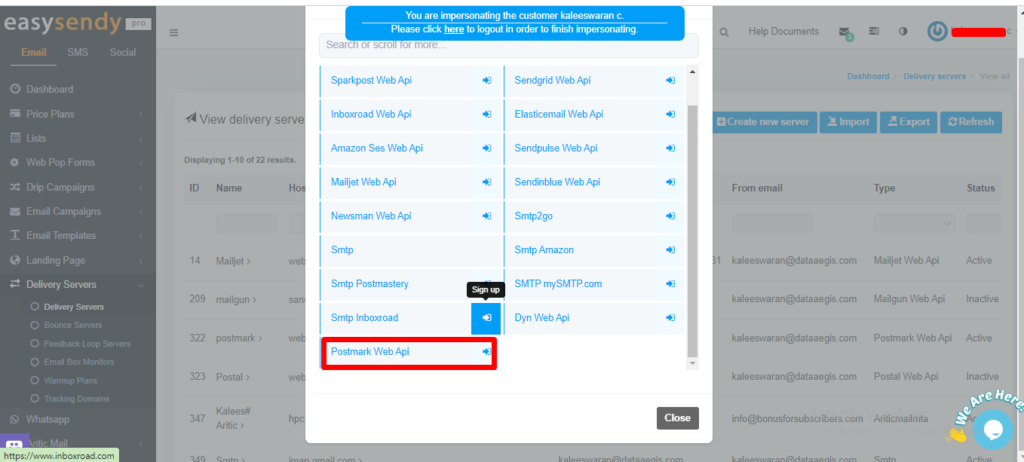
10. Add Postmark web Api in EasySendy Pro Delivery Server.
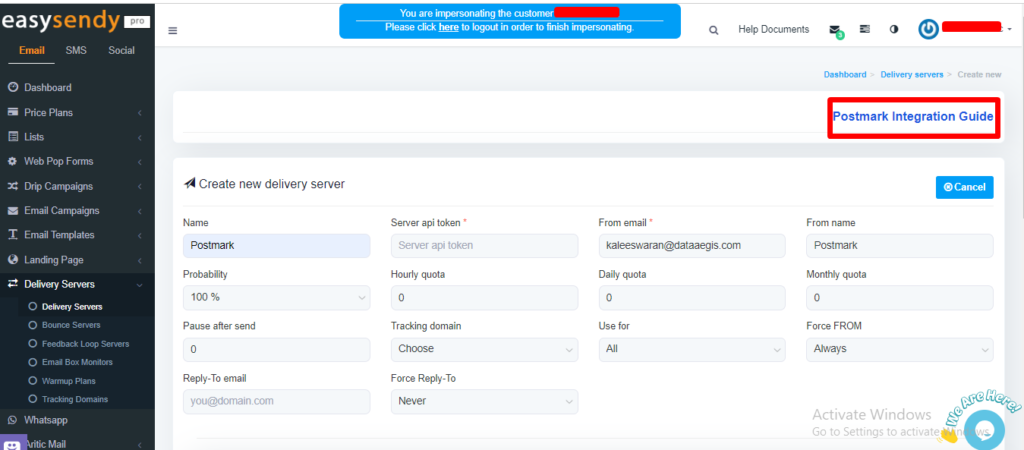
11. Now you can able to see the settings for your Postmark web Api delivery server.
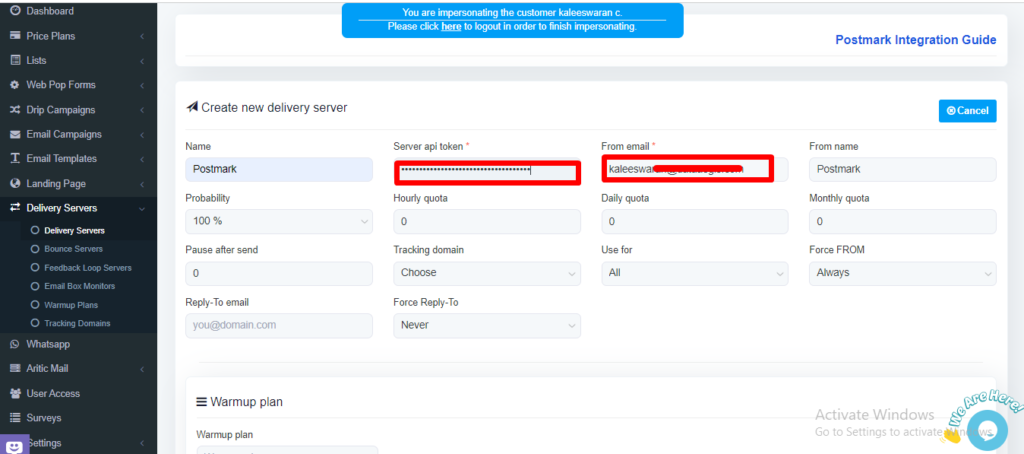
12. Add copied Server api token, From email and choose Save changes.
13. Validate Delivery Server in EasySendy Pro account.
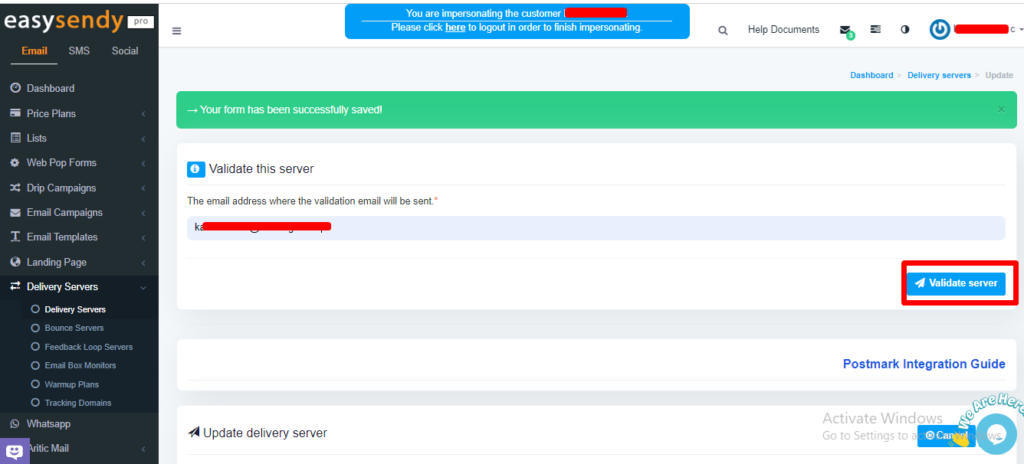
14. Go to given Mail Inbox and open the mail and click on the Validation link.

Recent Comments